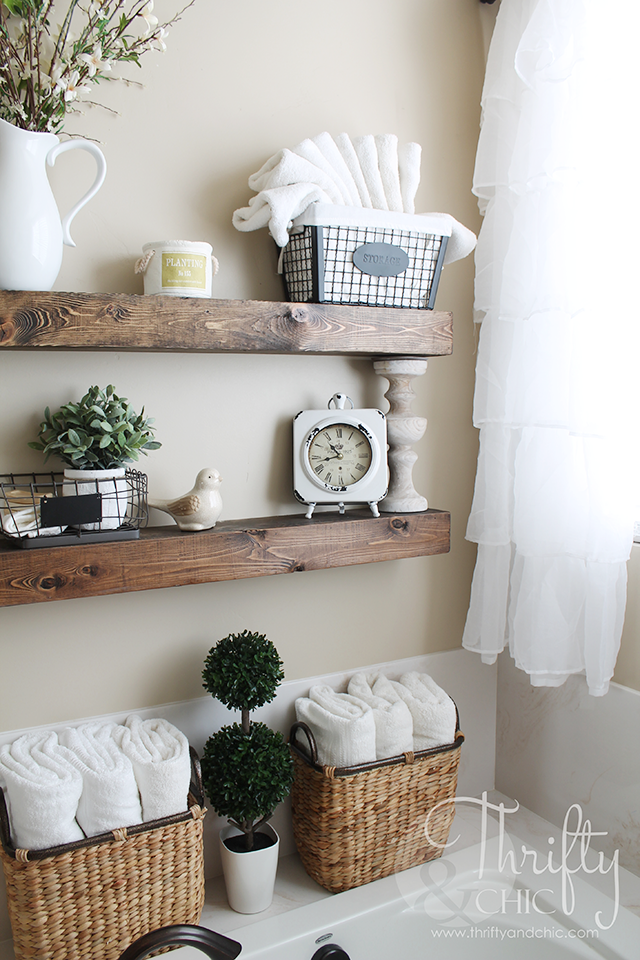
To create the actual floating shelves, here’s how to do it.
Cut List per shelf:
(2 )1×6 @36″
(1) 1×4 @37.5″
(2) 1×4 @5.5″
(1) 2×2 @36″
(3) 2×2 @3″
Supply List:
Nail gun
1 1/4″ nails
Wood Glue
2 1/2 screws
Drill
Stain

Step one is to put the 5.5″ inch pieces on the ends of the 36″ 1×6. Glue and nail in place.

Then add the second 36″ 1×6 piece to the opposite edge of the 5.5″ pieces. Glue and nail in place.

It should look like this at this point.

The next step (not pictured, sorry!) is to place the 37.5″ 1×4 on top of this. Glue and nail into place
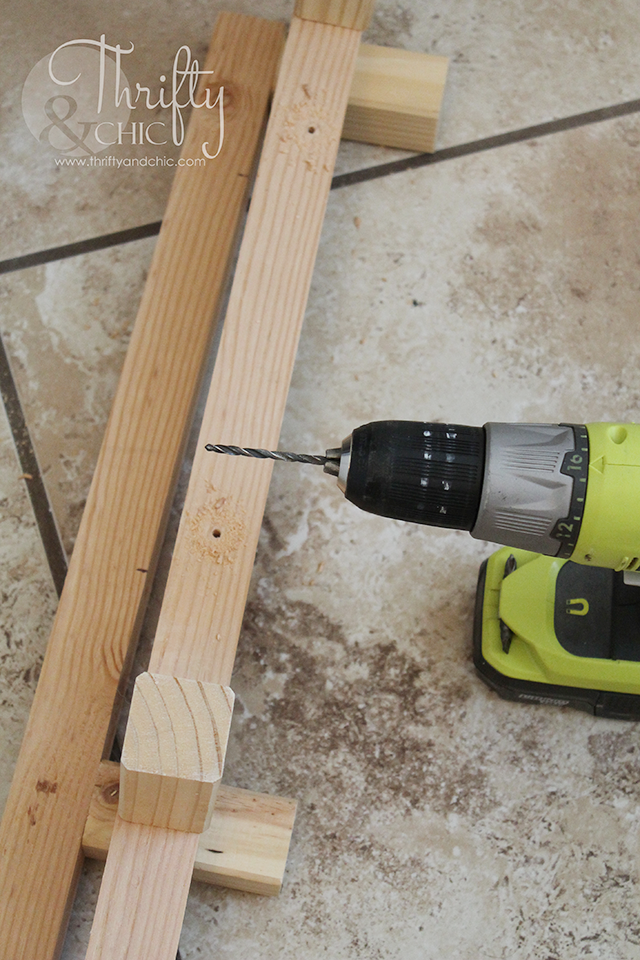
Now for the supports. I drilled and screwed in the 3″ pieces into the 36″ 2×2. I placed one on each end and then one in the middle.

I then measured on the wall where I wanted these positioned with help of my painters tape. I found where the studs were and then marked those measurements on the support. I then drilled all the way into the support with a drill bit one size smaller than my screws. This helps to not split the wood when you send the screw through.
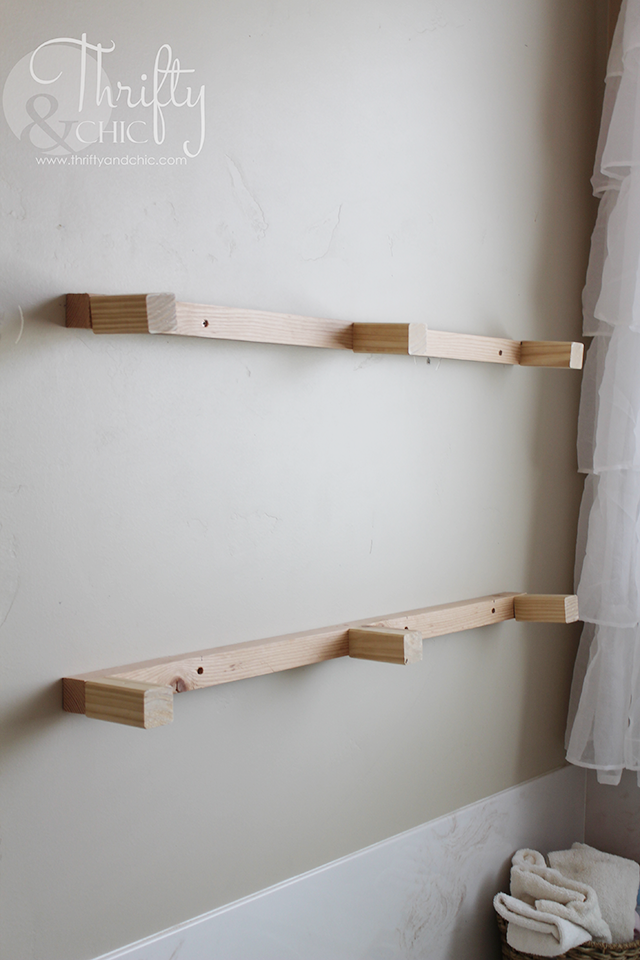
I then placed them on the wall, making sure they were level and even.
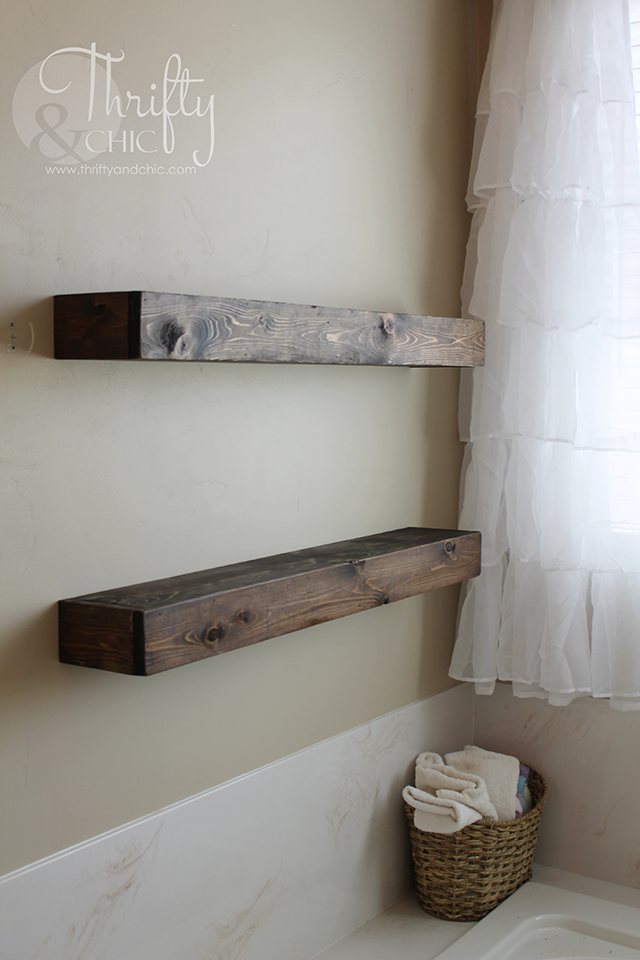
Before staining, I sanded the shelves to smooth out the edges and corners. After staining the shelf with Minwax Dark Walnut, I then just slid them on to the supports. The fit was perfect and snug! I then realized after putting weight on these, I needed to add more support by adding a 1 1/2″ screw into the top of the shelf into the support. I drilled this out first, and then sent the screw through.


Source: Thrifty and Chich